Like many others, my 17th birthday marked the start of my automotive journey. However, instead of opting for the usual “first cars”, I went retro; a 1983 Vauxhall Chevette.
The History
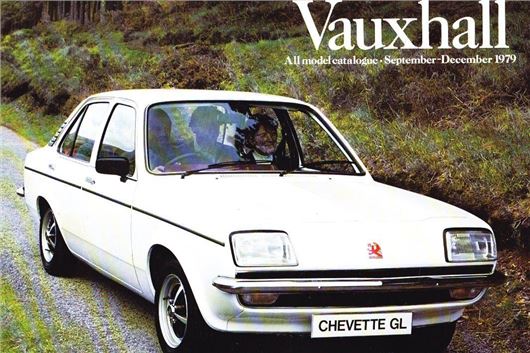
Before delving into the work on my own car, a small history lesson. First released by General Motors in 1975, the Chevette had two “cousin” models; in Europe there was the Opel Kadett and in America the Chevy Chevette. In the UK, the Chevette first launched as a 3 door hatchback in 1975, followed by the 2 and 4 door saloons in 1976 and the estate models the year after. Despite competition from Ford’s Fiesta, the Chevette became the best-selling hatchback in the UK from 1975-78; a testament to Ed Taylor’s design and GM’s ambitious world launch plan.
The Chevette HS and Vauxhall Rally
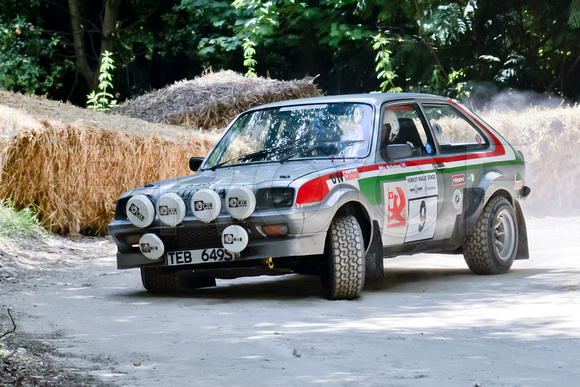
Perhaps the most interesting of all Chevette models and certainly the rarest is the Chevette HS. Whilst looking fairly similarly to the standard hatchback minus the fog-lights, the HS was very different under the bonnet, the standard 1256cc engine was switched for a 2300cc engine which produced 220 horse-power in rally spec. The reason this car ended up in the hands of the public was actually due to FIA regulations that stated that in order to run a car in the rally series, there must be at least 400 models of the car that can be sold to customers to pass the homologation requirements; the HS was born. This limited production number and increased performance means that nowadays, a HS will set you back around £30,000.
Day 0
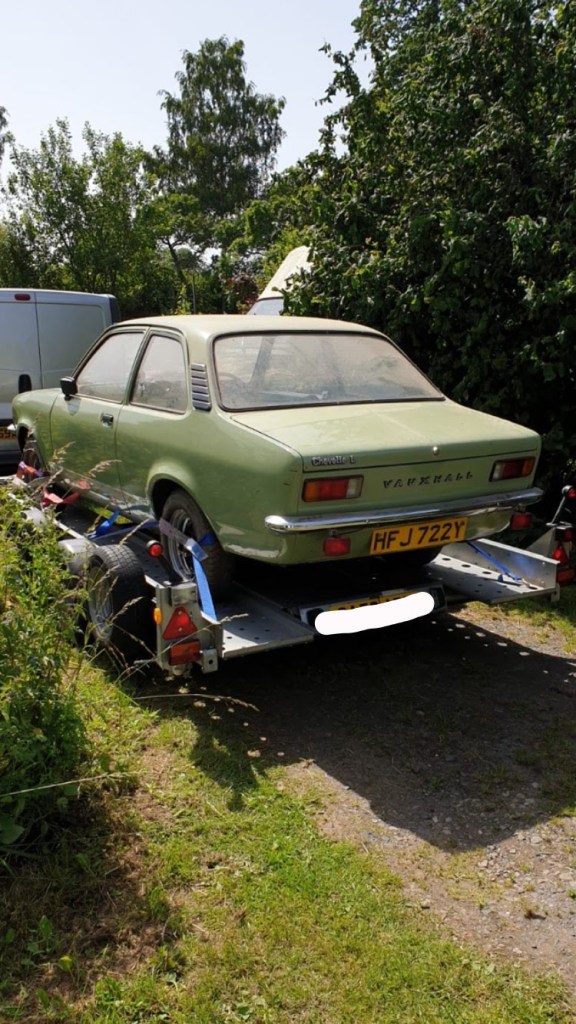
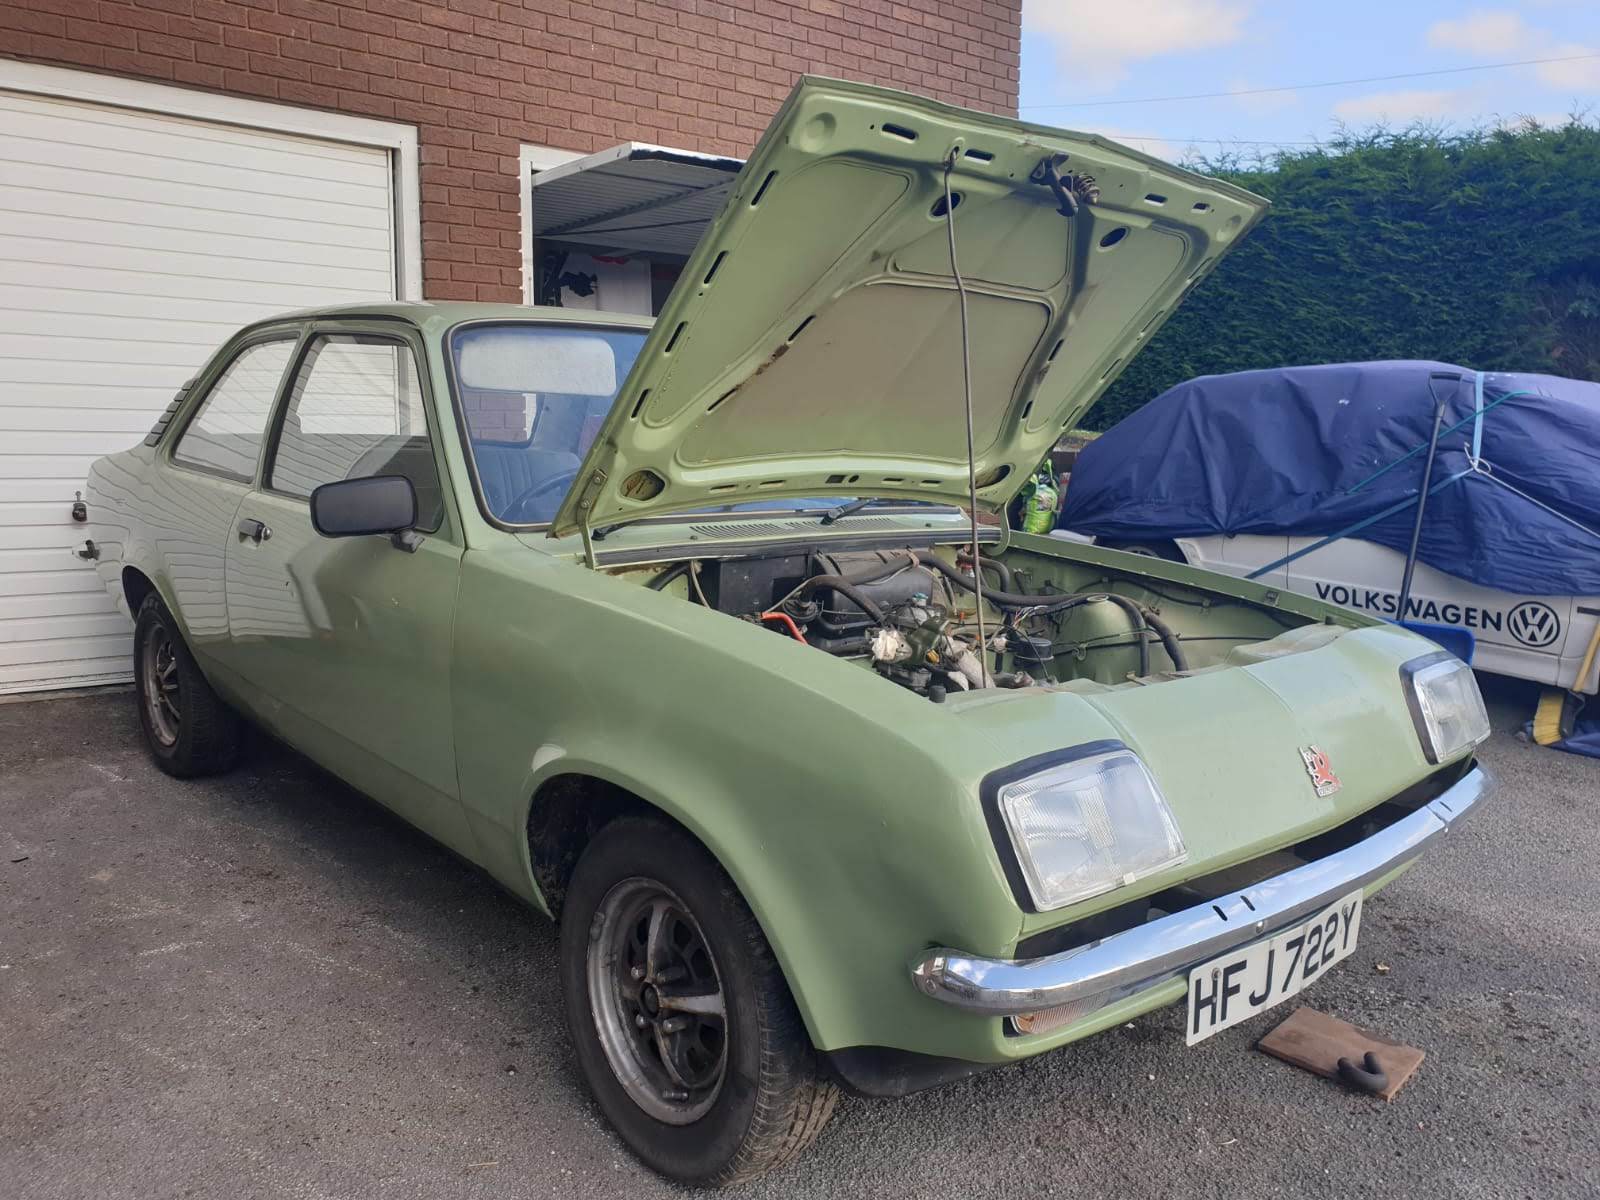
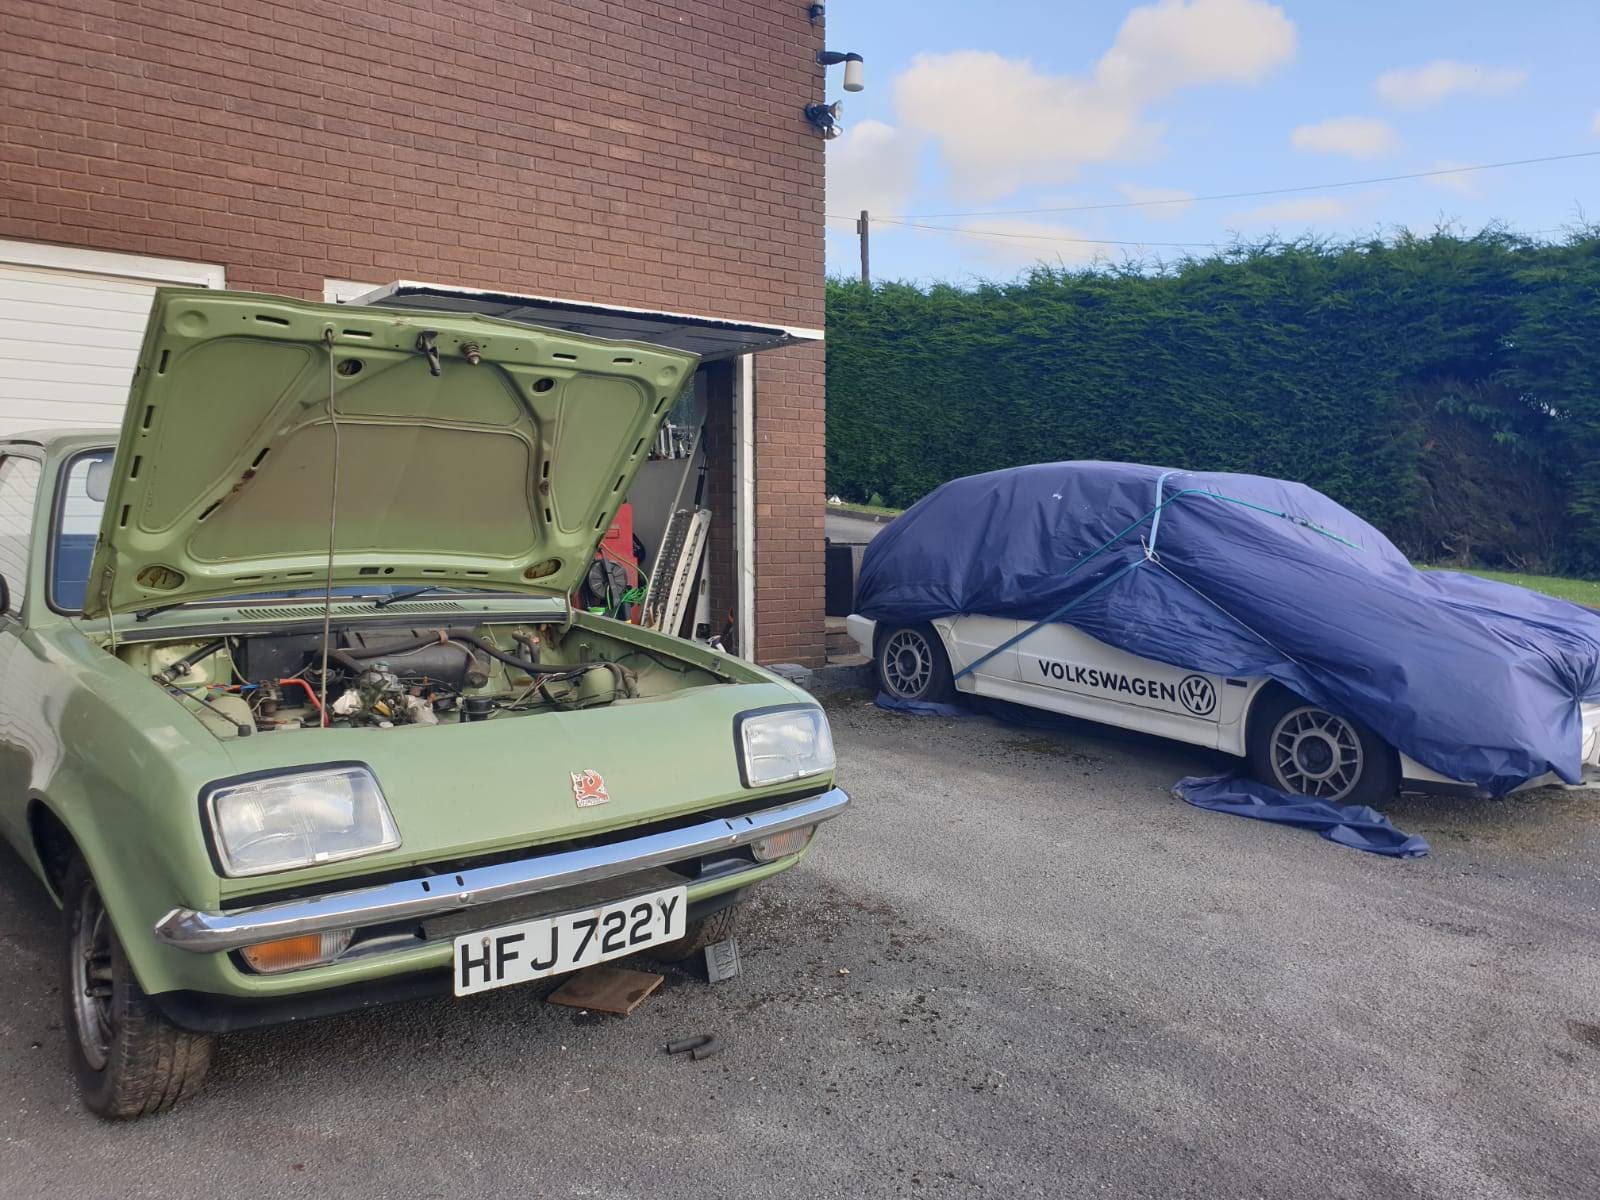
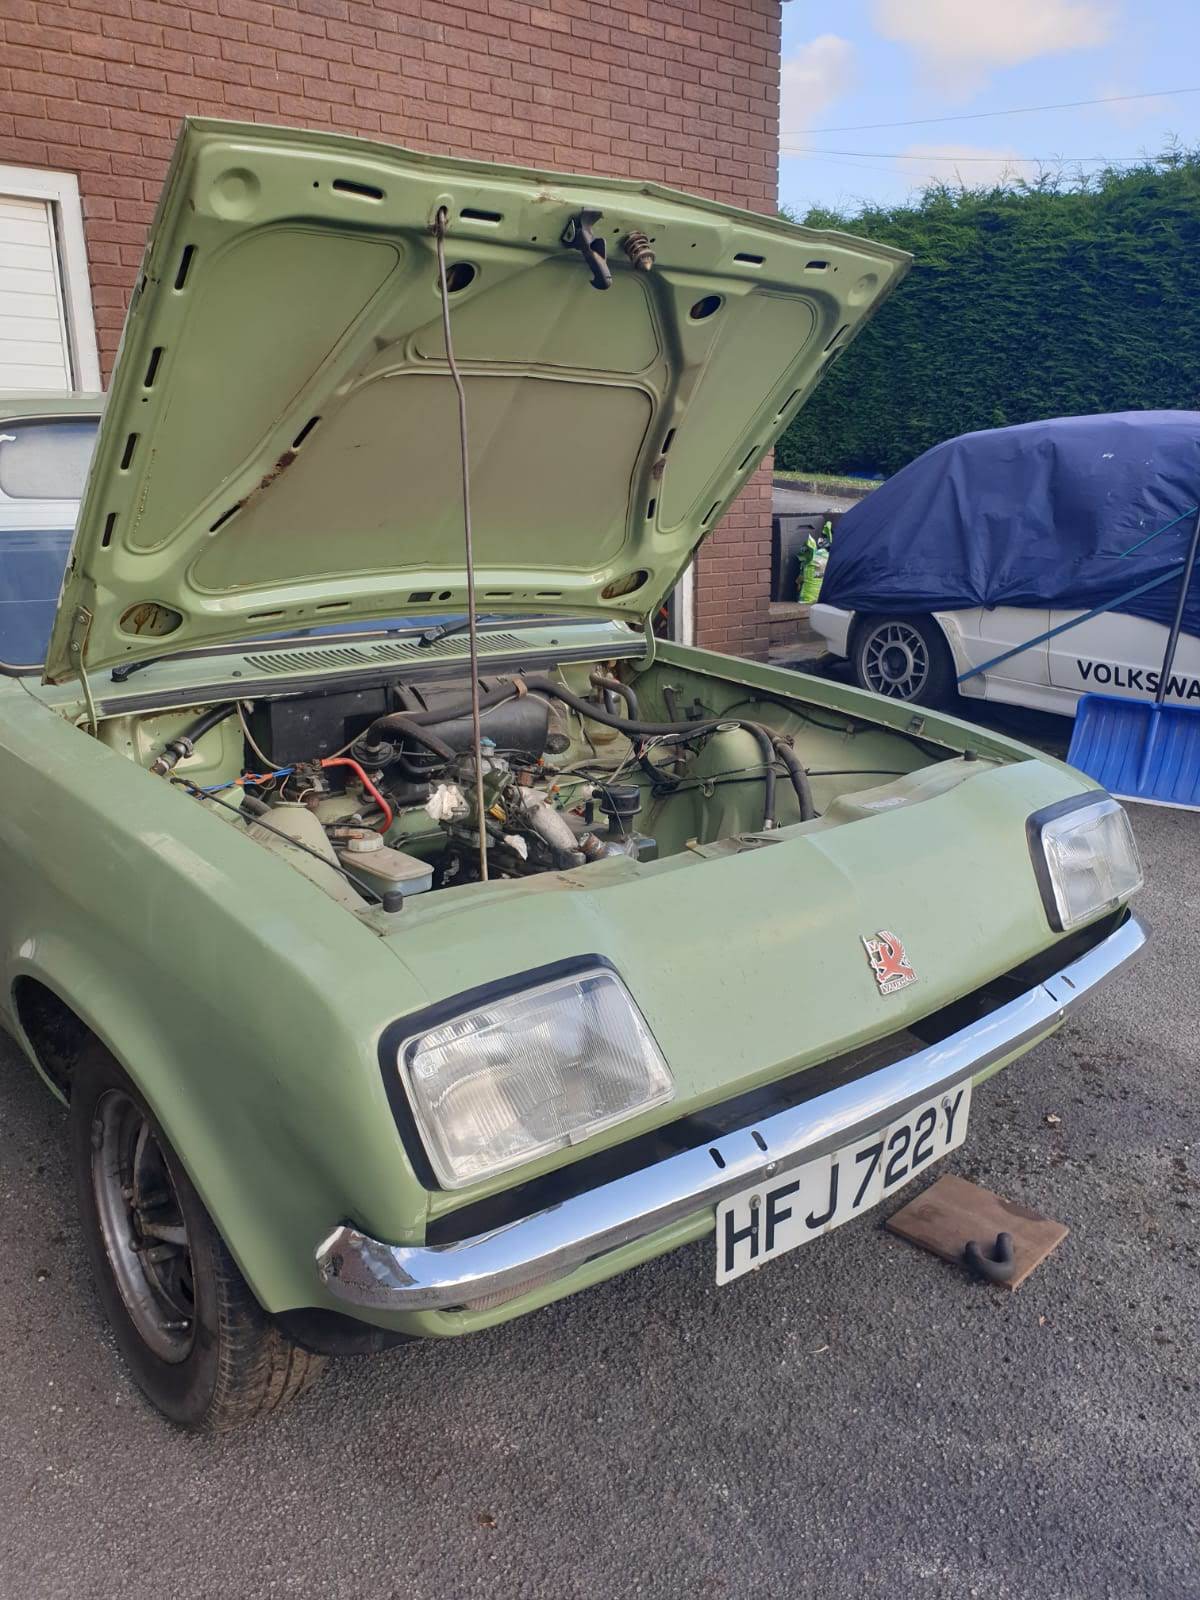
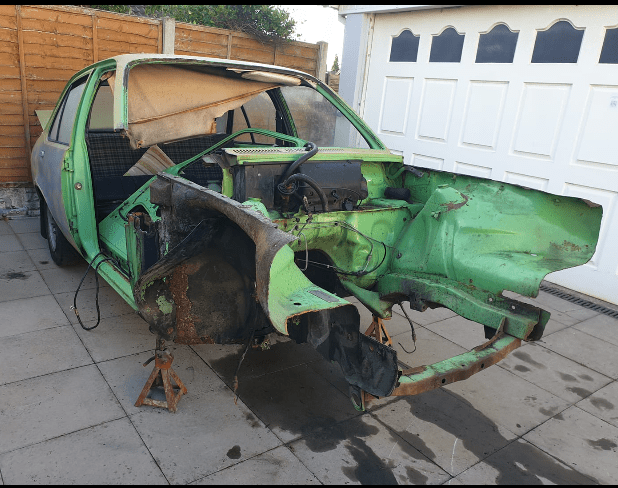
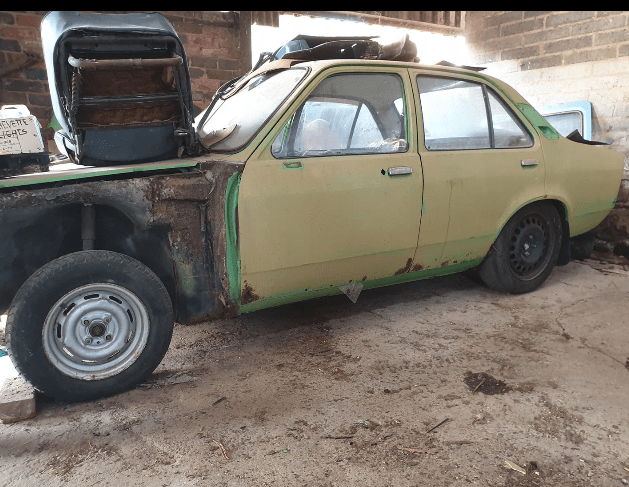
The car was initially fetched by my Uncle, it had been sat in a barn for at least 8 years yet was a solid car for a project. From what we can gather, the car’s previous owner had begun to work on it, yet sadly passed away before he had finished. The engine was out of the car on a stand and the front end was disassembled, after a speedy put-together, the car was trailer ready and on it’s way. It spent a few days at my house in storage whilst my Uncle was looking for a buyer, however within this short space of time I decided that I really liked this car and was interested on finishing it.
Day 1
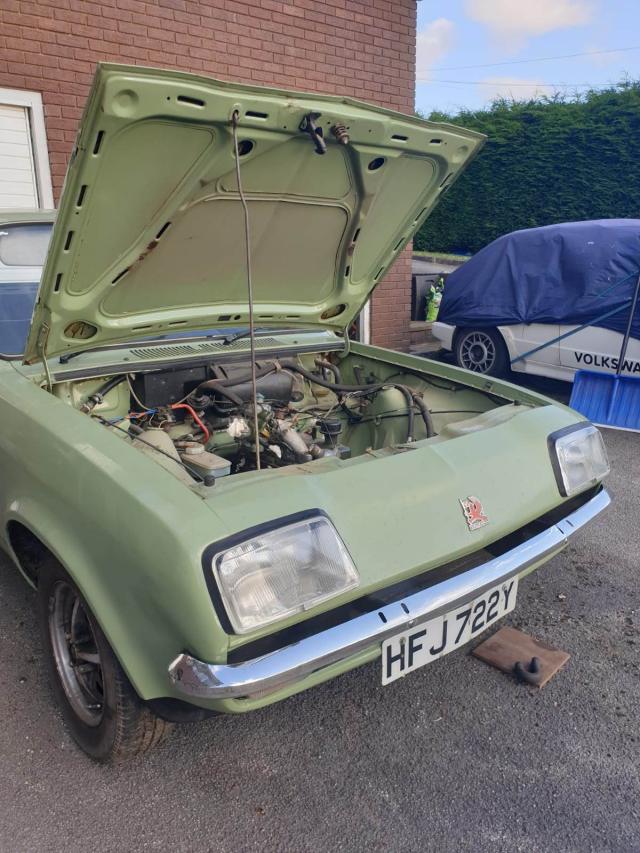
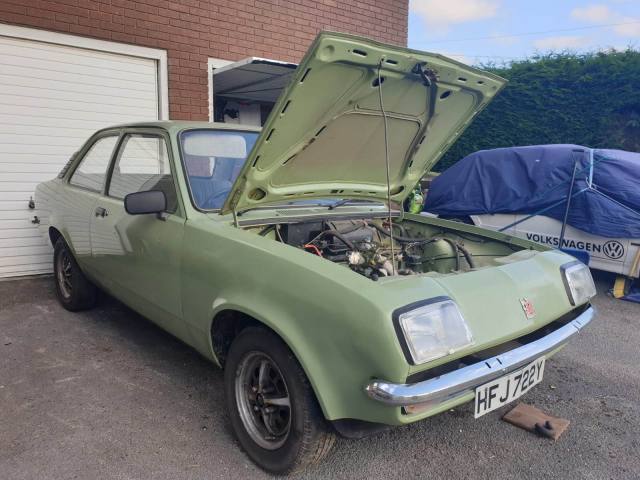

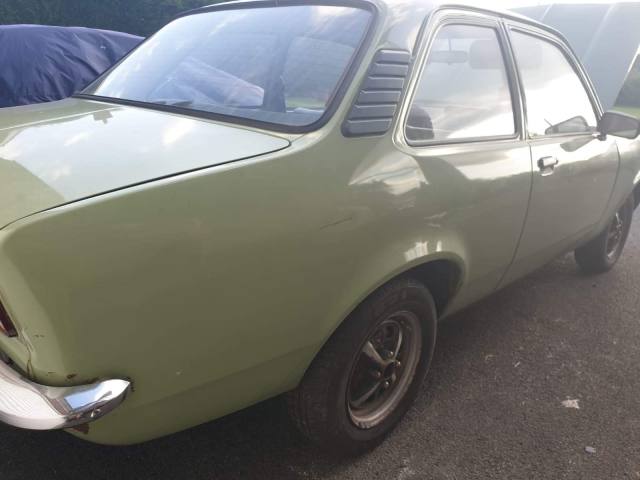

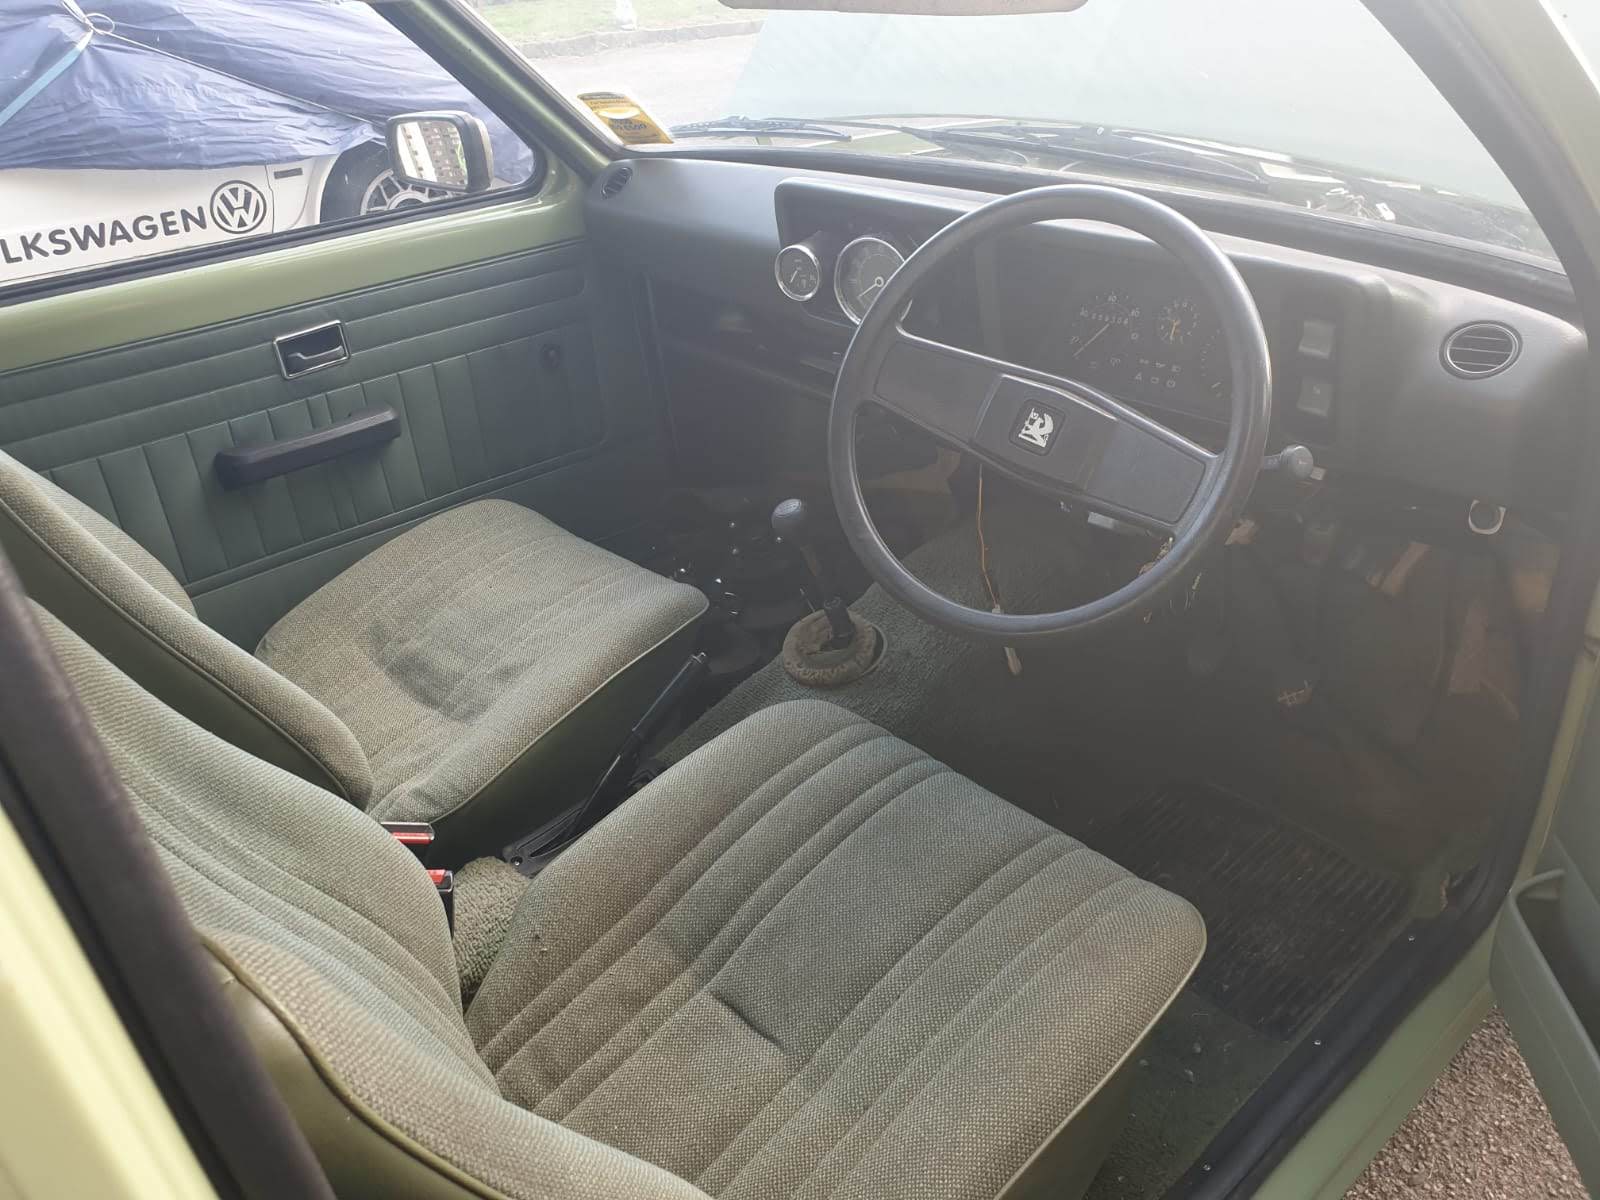
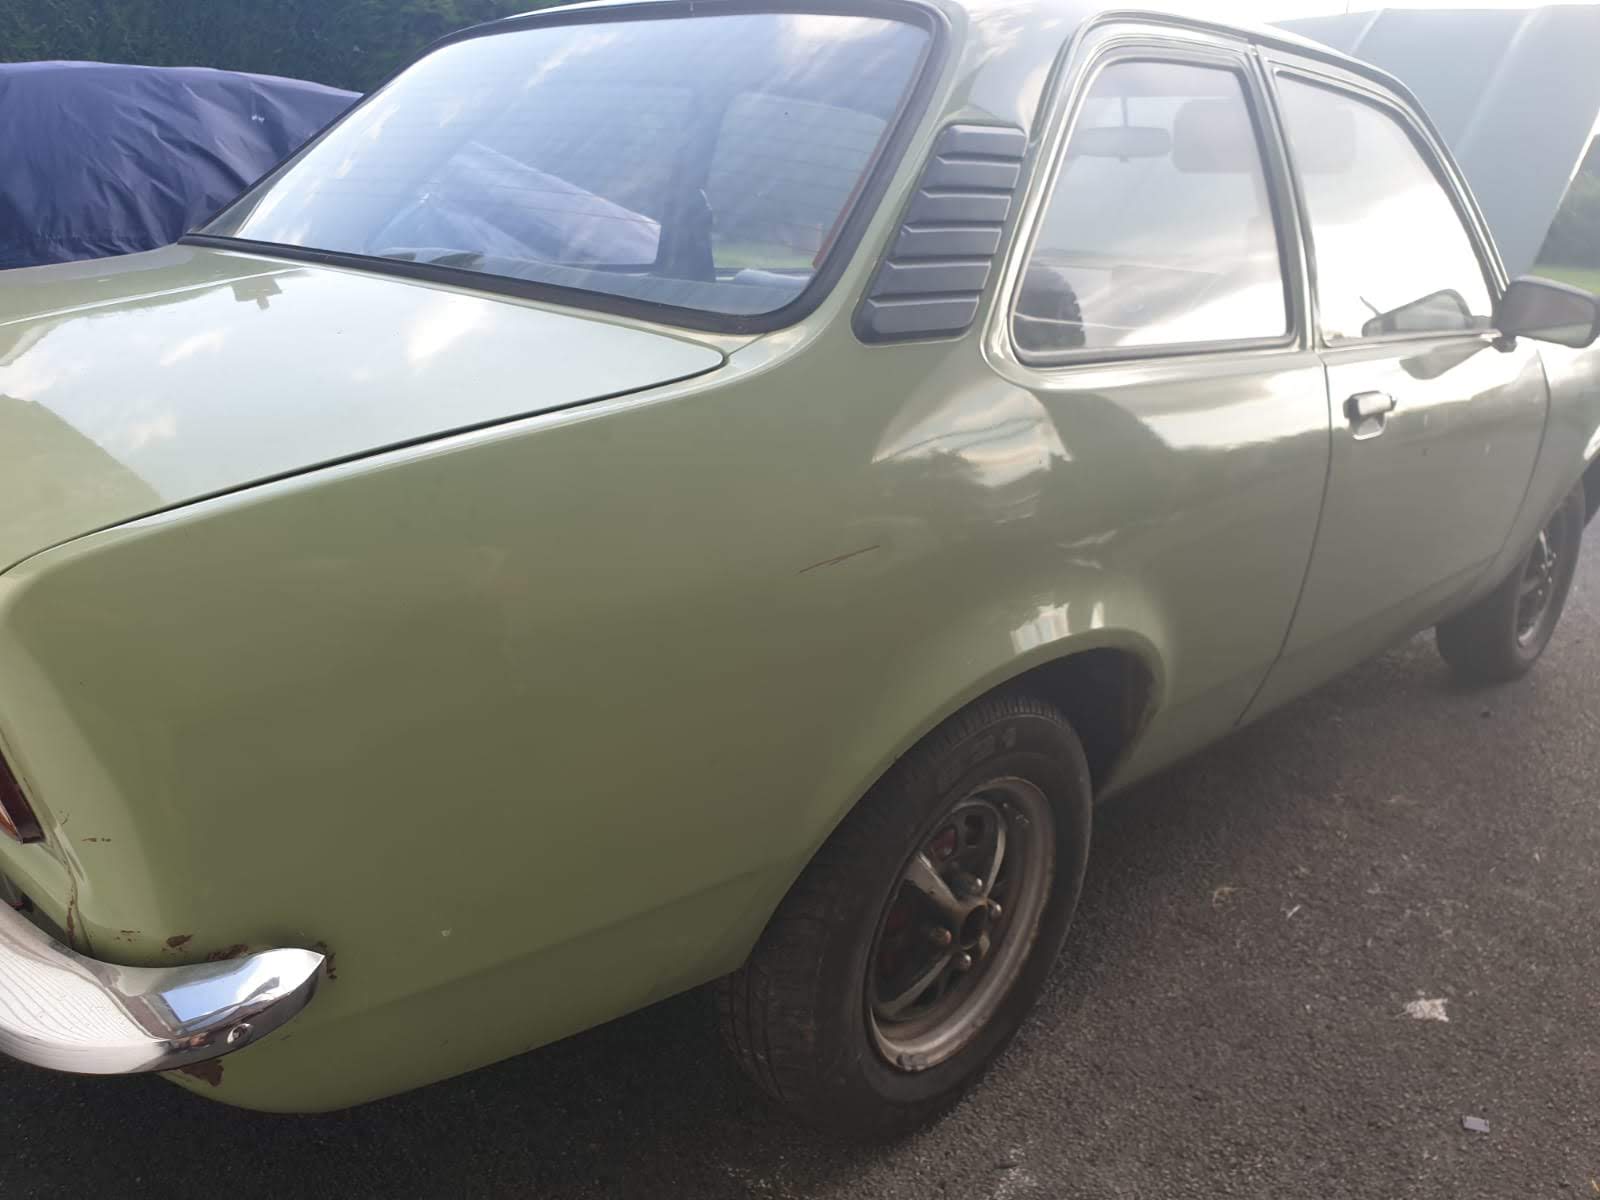
As you can see in the slideshow, the car is fairly solid, the main issues that needed work were:
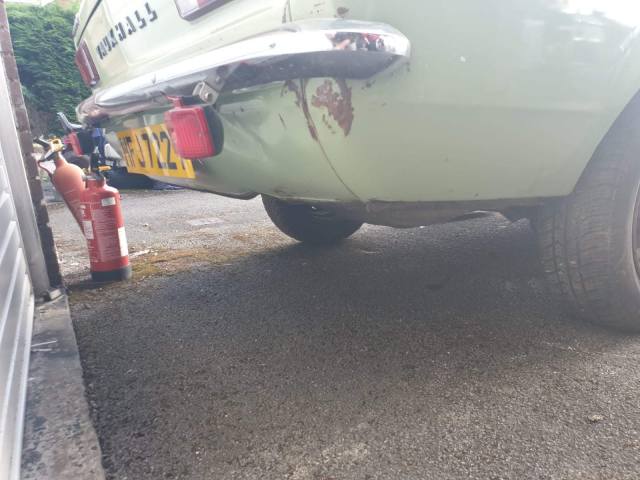
- Exterior rust
- Wheel clean up
- New gearbox
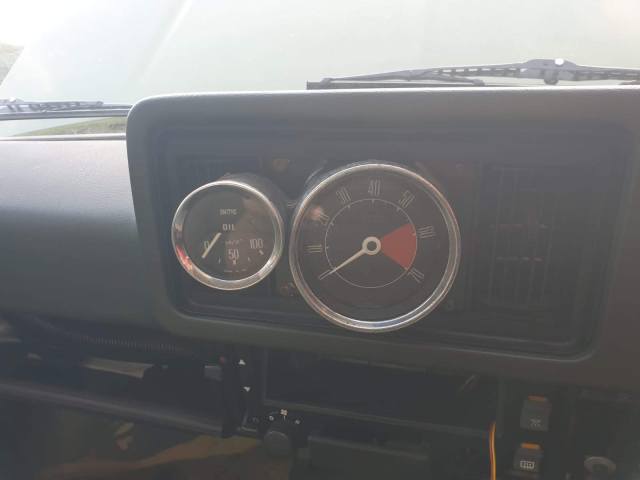
- Original clocks refitted
- Paint touch up
- New exhaust
- Carpet securing
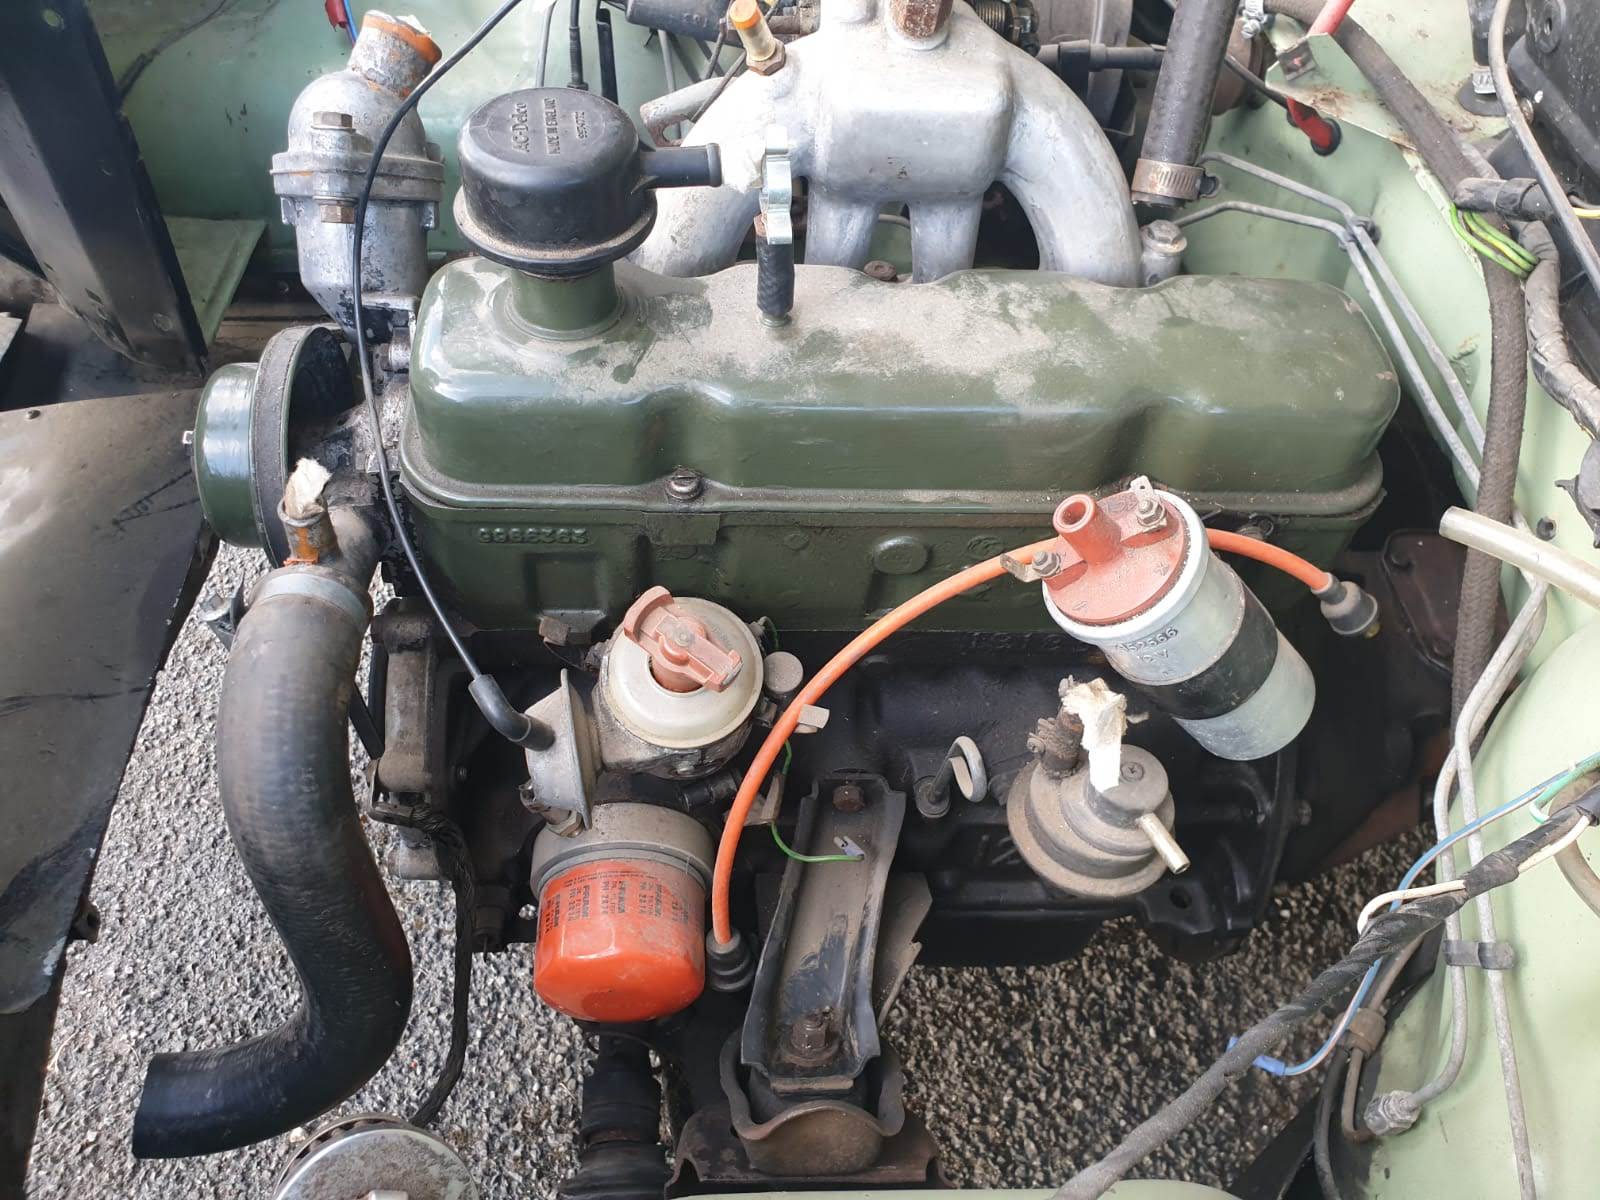
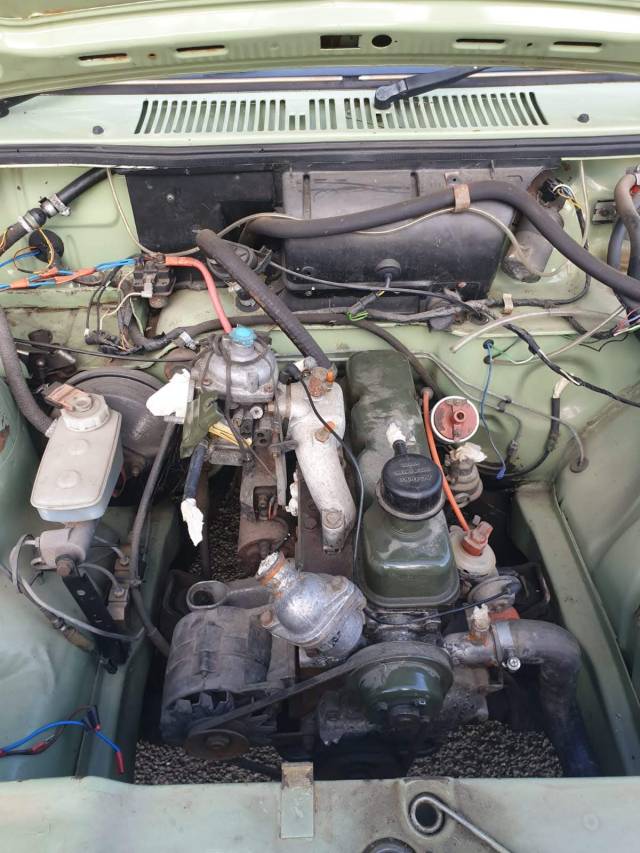
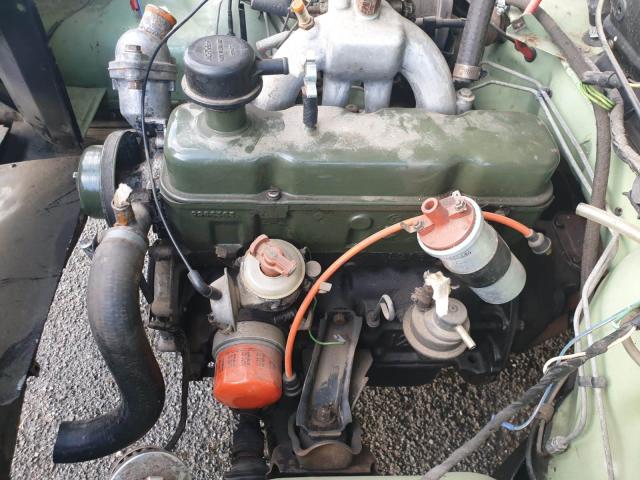
- General engine work inc. air filter electrics etc.
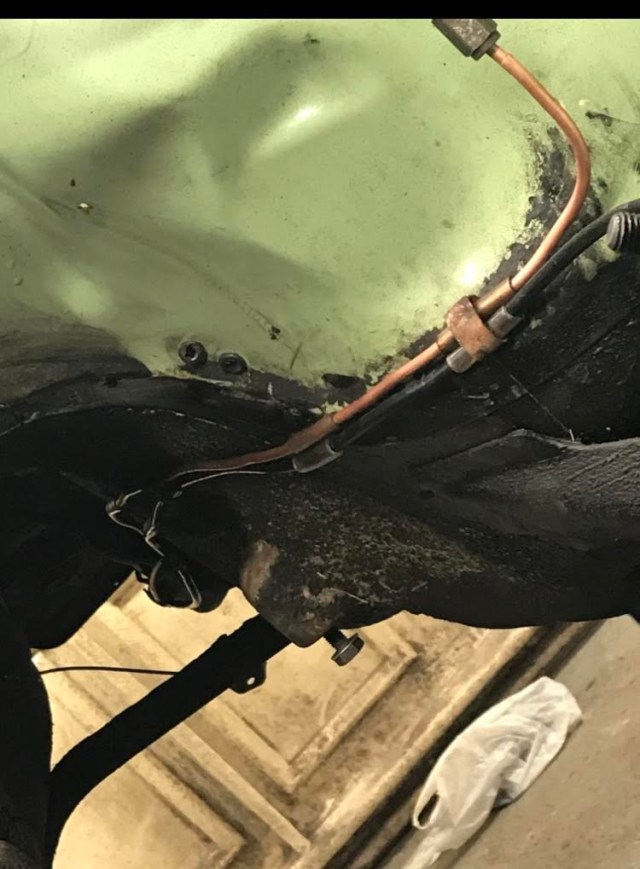
- Brakes and Brake lines
- Fuel lines
- New passenger side lock
- Suspension work
- Washer bottle
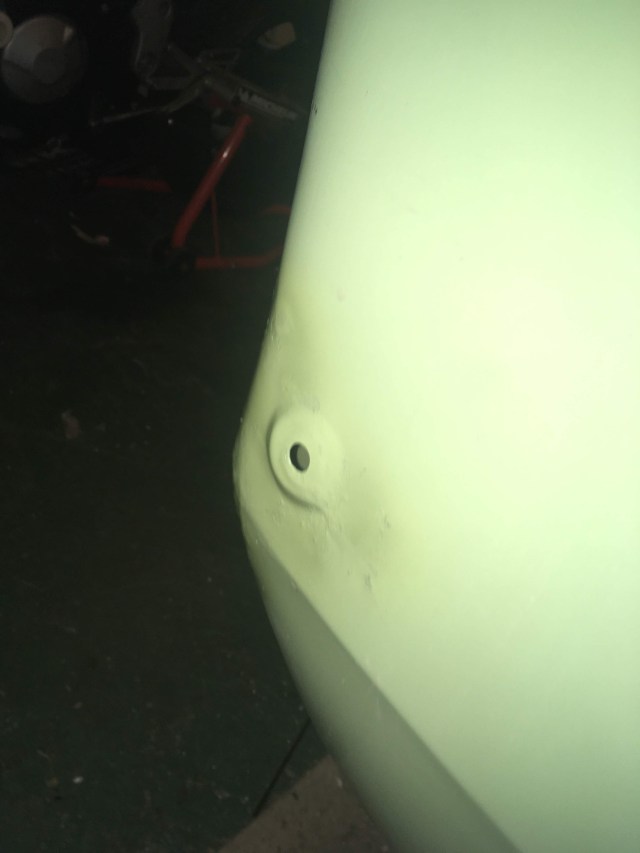
- And probably the most important job, putting the bumper on the right way up!
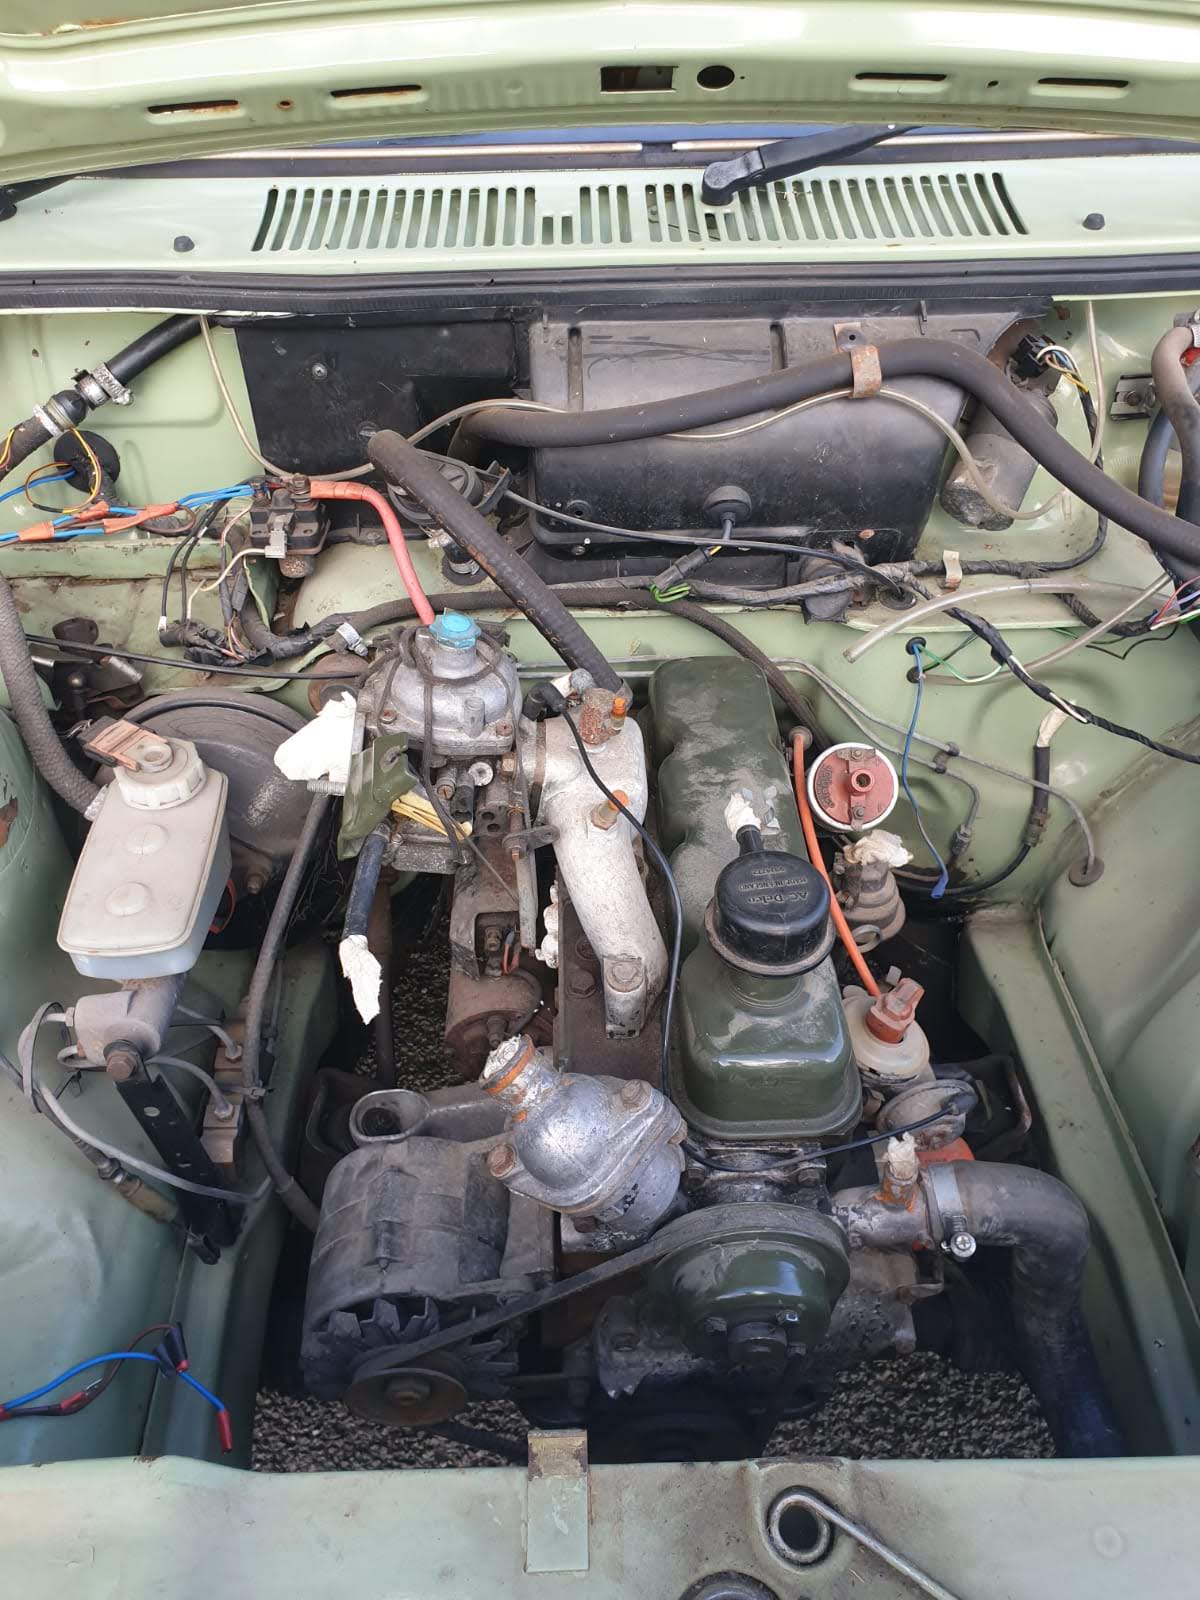
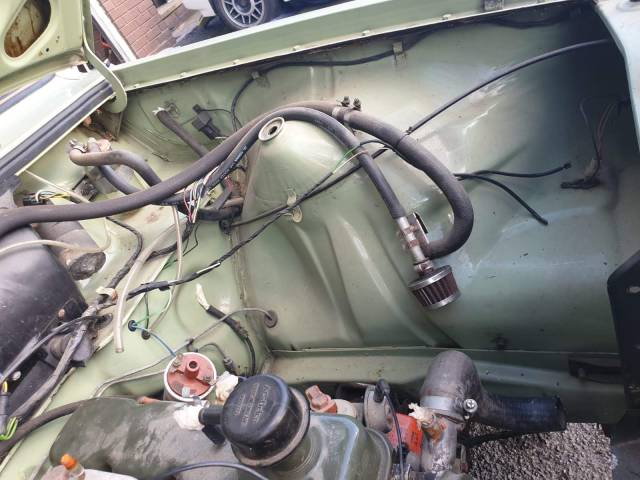
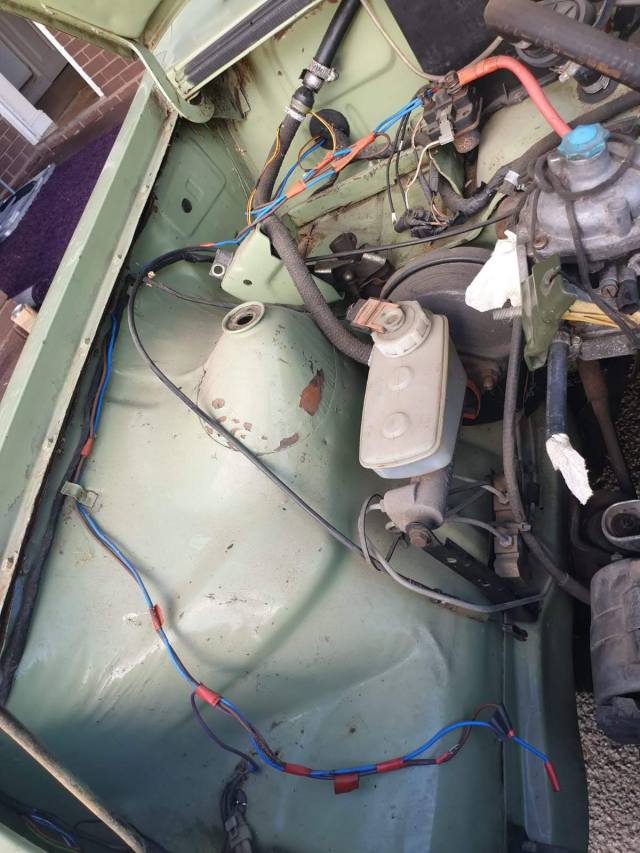
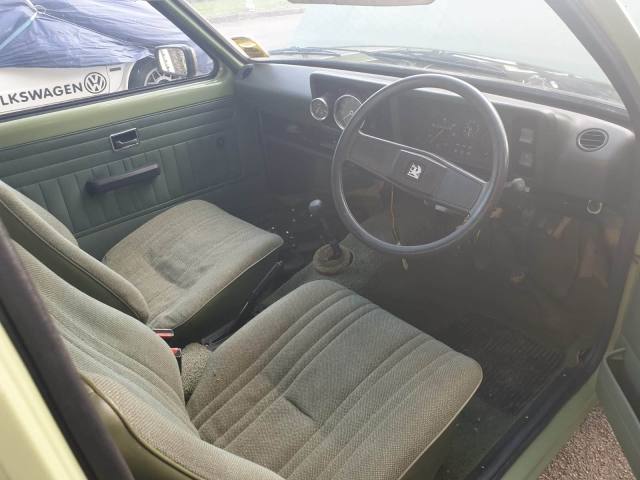
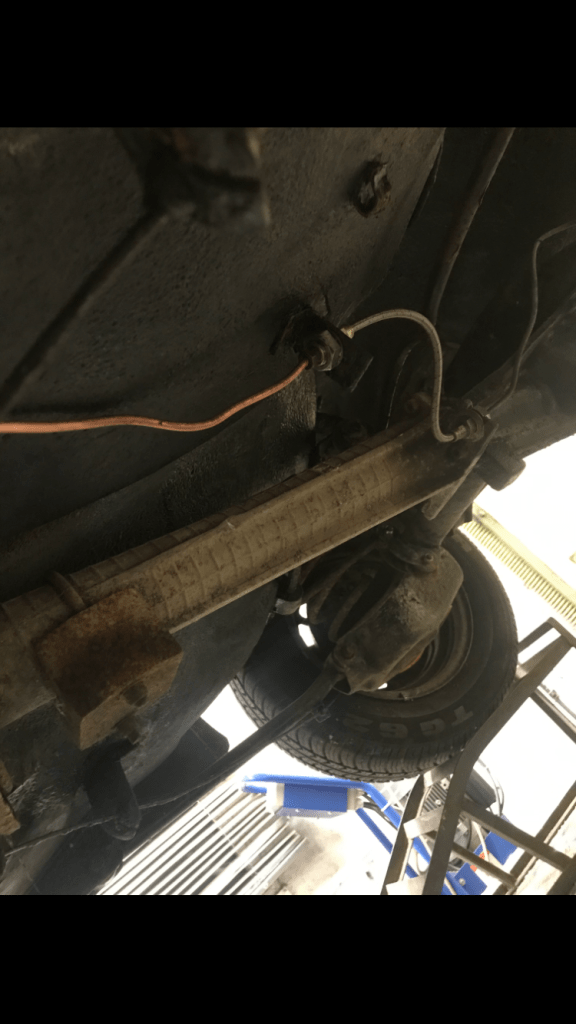
The main goal of the project was to return the car to original, but modernising certain areas in order to improve safety. The previous owner’s modifications included running both the brake and fuel lines through the car, fitting an in-line fuel filter, electric fan added to radiator, mounting the battery in the boot and what appeared to be the start of a battery cut off switch in the cockpit. Judging by these, it’s possible the previous owner was looking into road racing or the likes as the mods he made are often part of the rules to participate.
First Steps
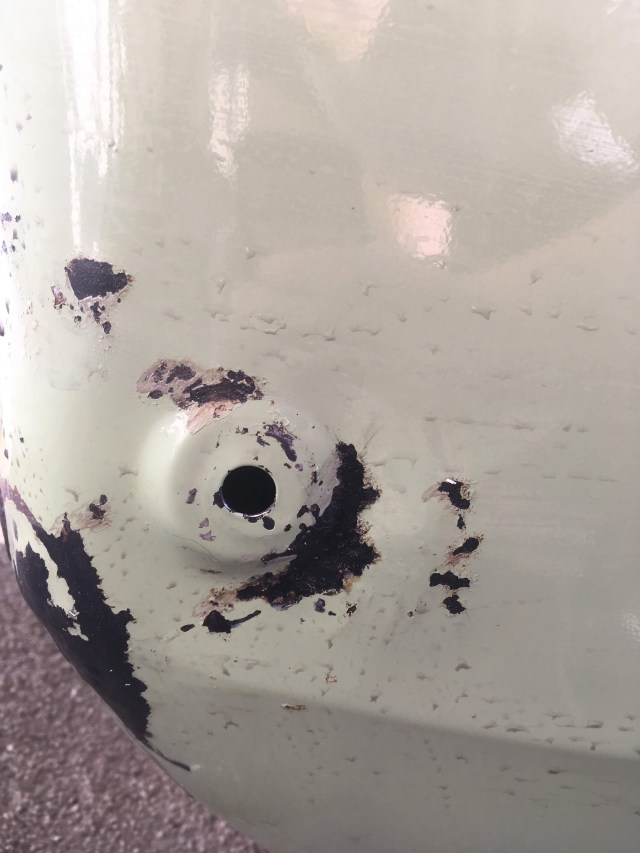
In terms of restoring classic cars, dealing with rust can be a major feature, whether it is dealing with existing rust or preventing it from forming in the first place. In my case, whilst the rusting wasn’t majorly significant, it needed work to prevent it from spreading in the future and to improve the overall look of the car. The approach I used was an anti-rust gel, which works by converting the rust into an Iron phosphate, which doesn’t spread. Whilst this new compound is black, it can act as a primer and be sprayed over. Luckily for me, the local Halfords had a can of Vauxhall Reed Green, the colour wasn’t an exact match, but was much better looking than the rust and can easily be made to match the surrounding area.
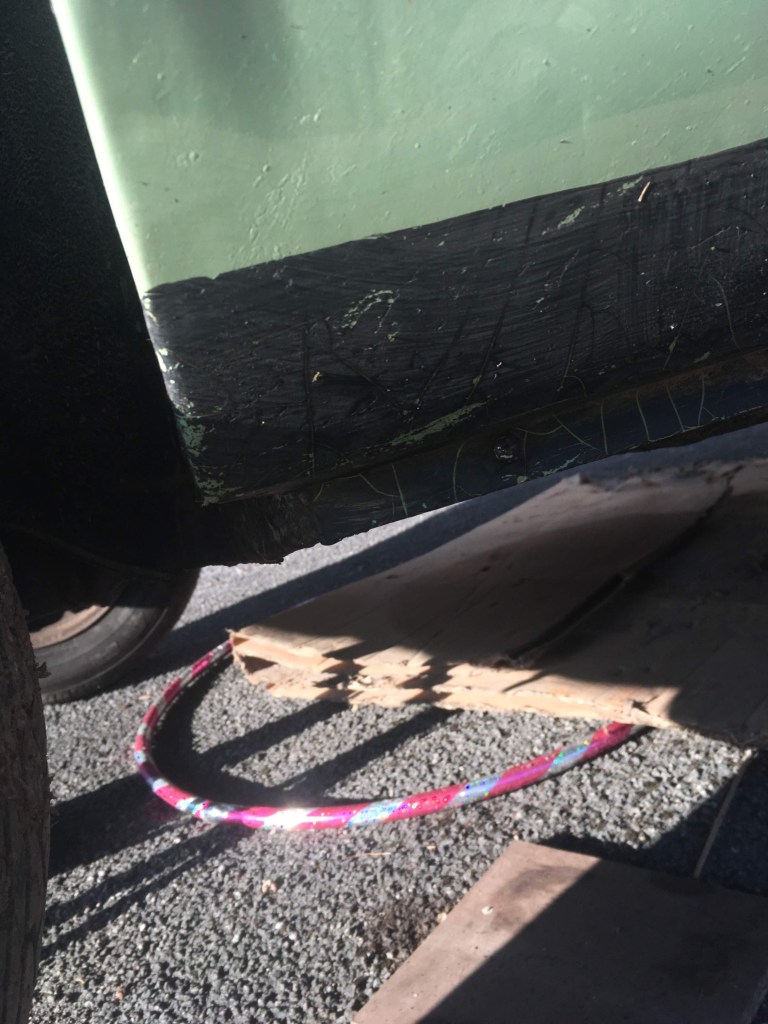
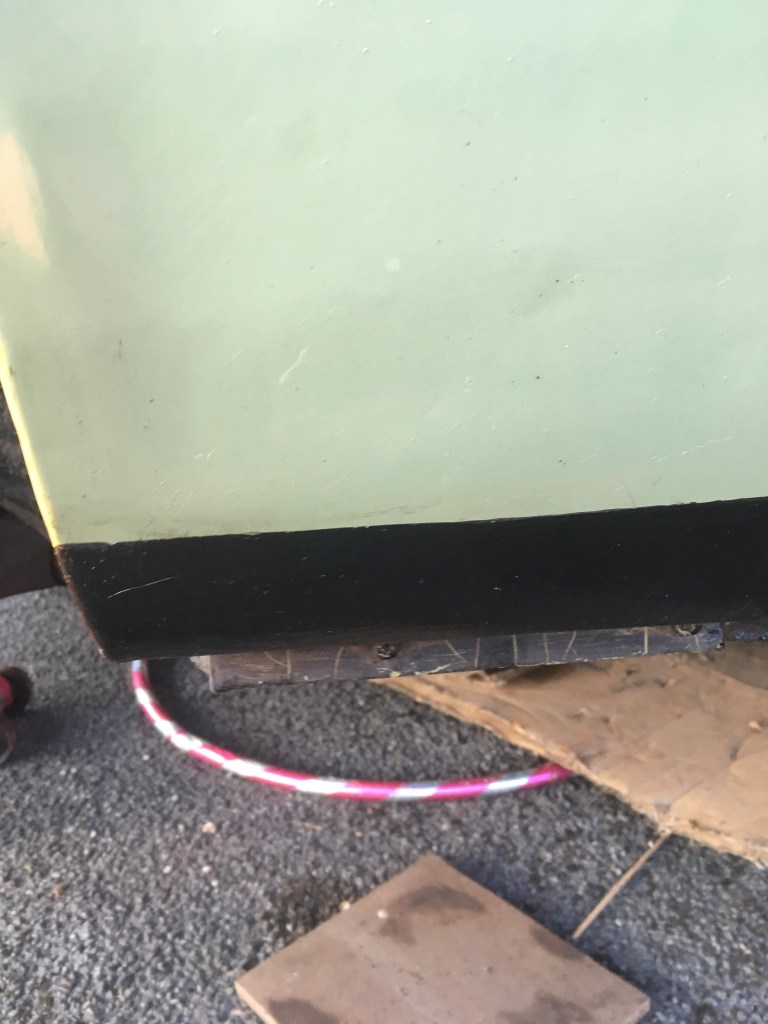
Bumpers were removed to be polished and to allow access to certain areas, sun-visors removed to be cleaned, old number plates taken off to be replaced.
Parts
Before completing any of the major jobs, parts were needed. For the most part they were sourced through my uncle, who is known in the community for always having what you need. Other than that, parts that needed to be brand new, i.e spark plugs, HT leads and plugs and brake pads were sourced from Ebay and odd bits were sourced from a donor car.
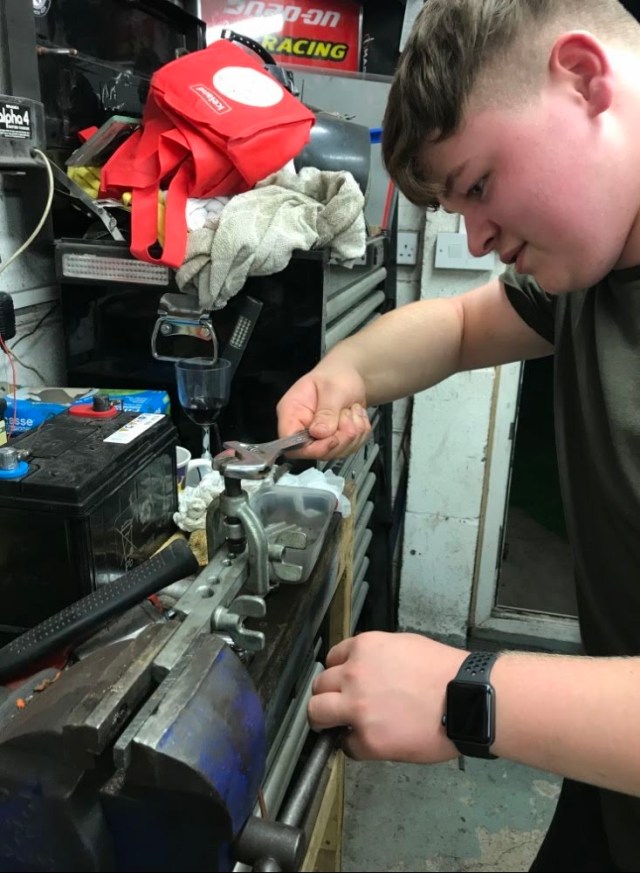
Main Build
Due to conflicting schedules and other commitments, the main bulk of the mechanical work came in a 2 day window, whilst initially this seemed like an impossible task, it turned into a Top Gear style challenge, and received much appreciated support by folks on the Chevettes’n’Kadetts Facebook group.
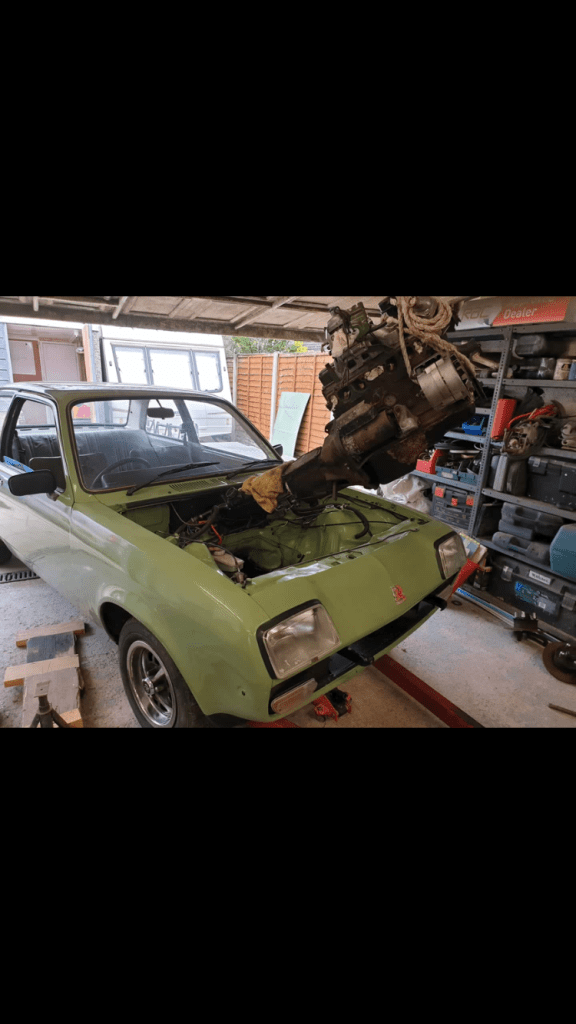
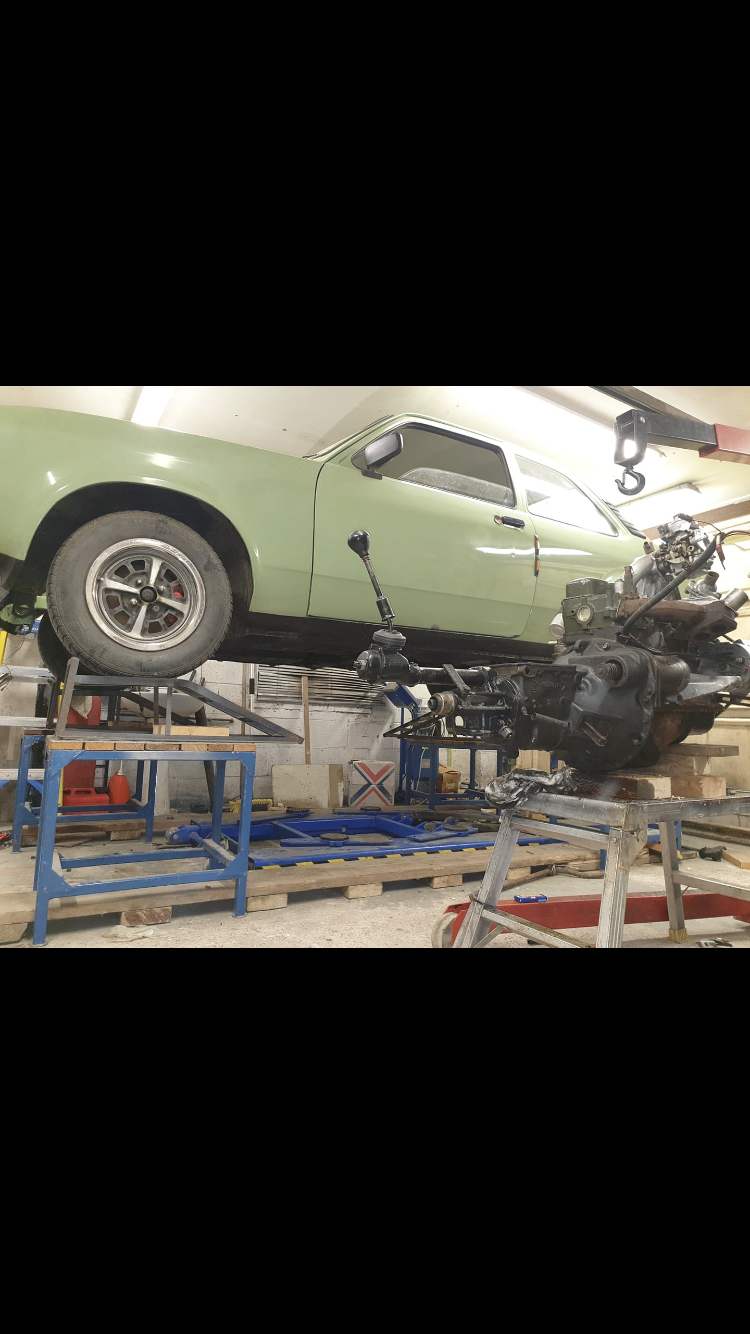
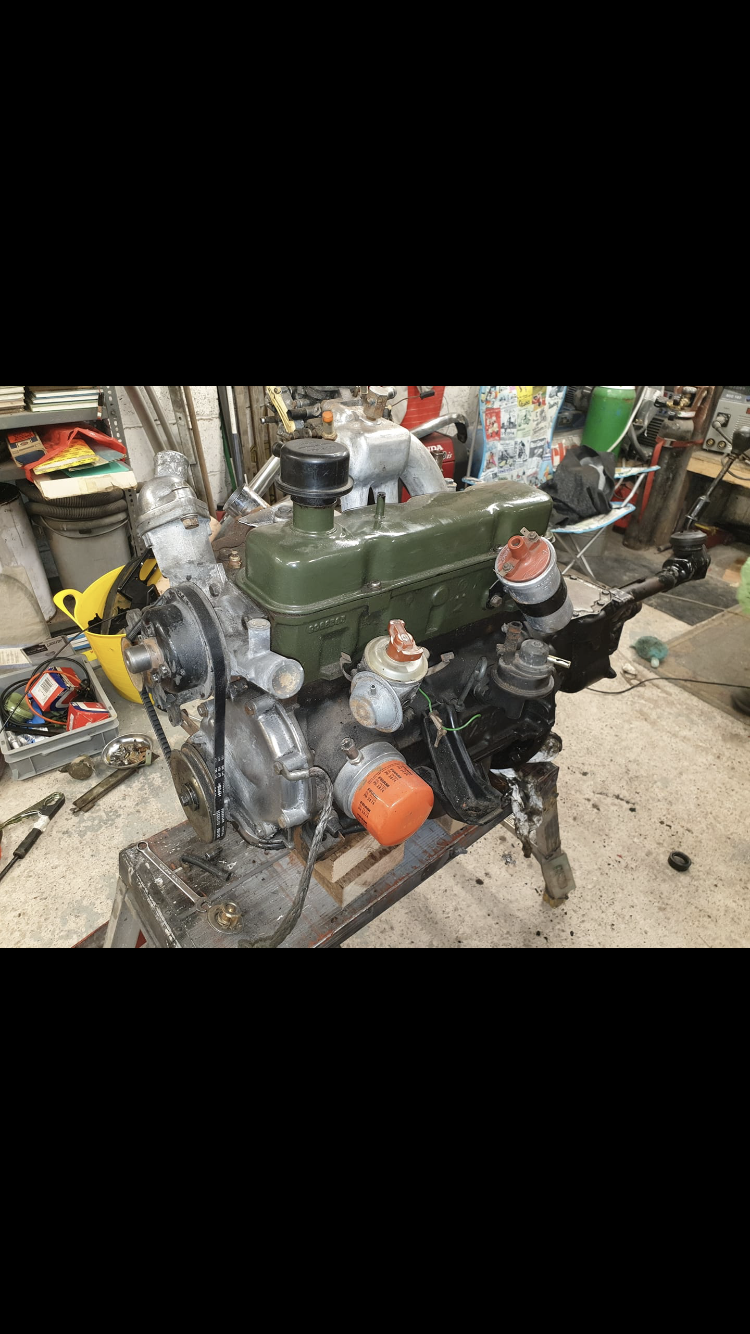
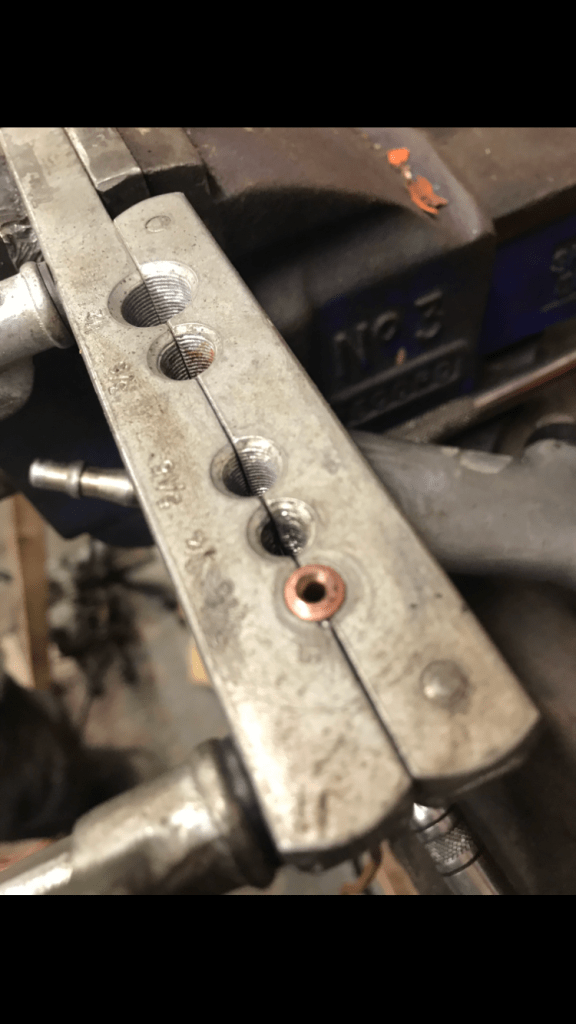
Engine and gearbox was removed so work on the engine could be done, gearbox could be switched and to allow easier access to other areas.
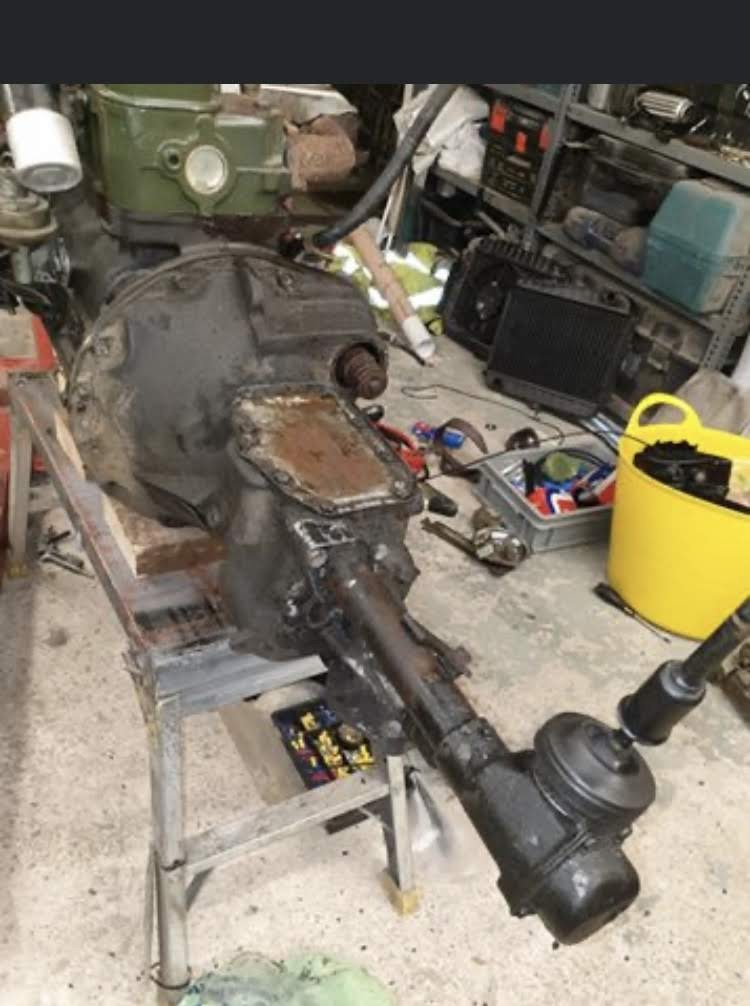
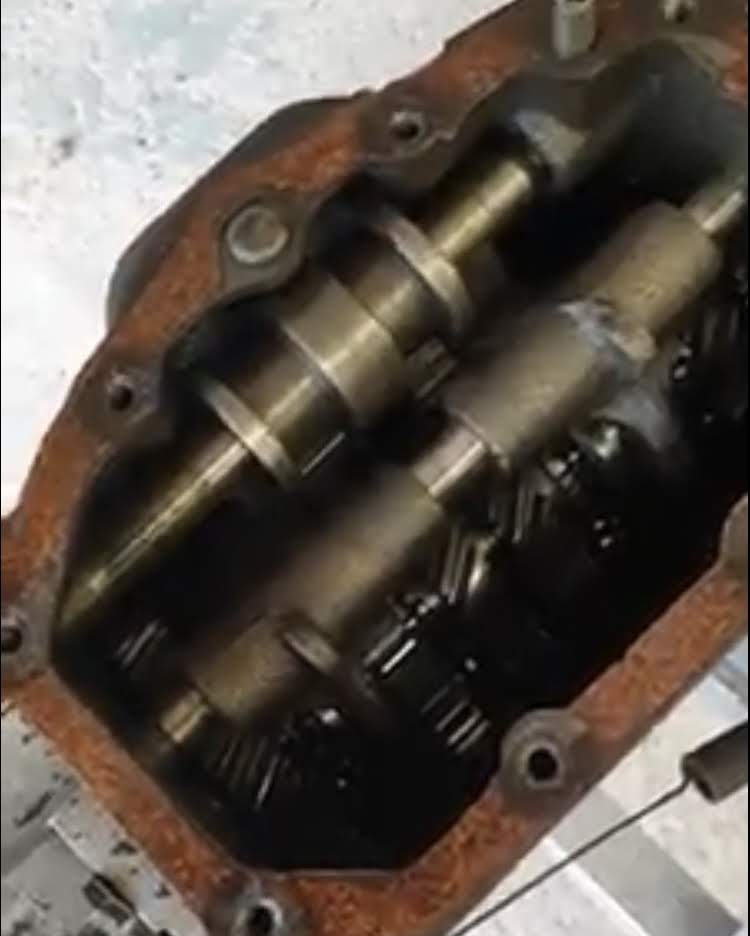
The existing gearbox didn’t feel healthy at all, it was evident without even disassembly that it would need replacing. The whole assembly felt worn out, “like a pencil in a bucket”, both the main shaft and the lay shaft moved when trying to select a gear.
With the engine and box out we had a good oppurtinity to run the brake and fuel lines back outside the car where they originally were.
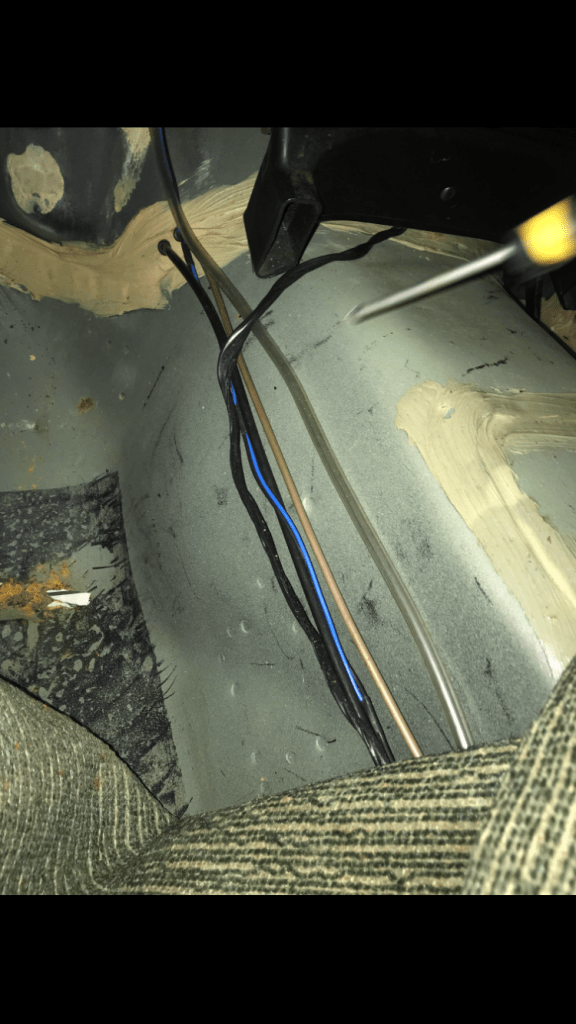
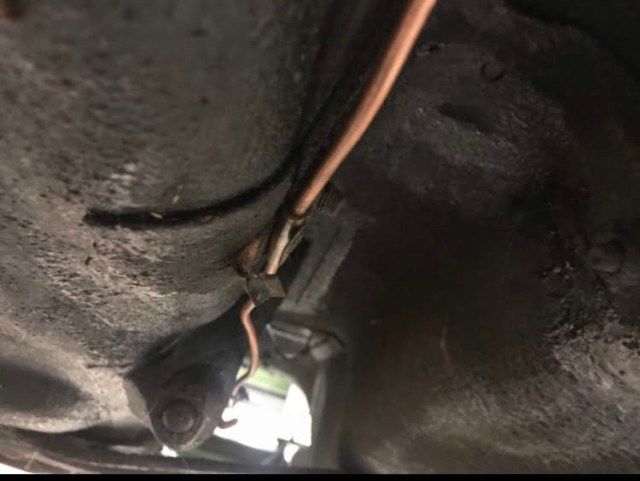

The main wiring loom was a mess of jumbled up wires and electrical tape, and didnt look very safe or stable. I don’t have much experience as an electrician
